30-days free trial quick guide
To learn more about our platform, you can use a 30-days free trial.
Here is a quick guide to help you onboard.
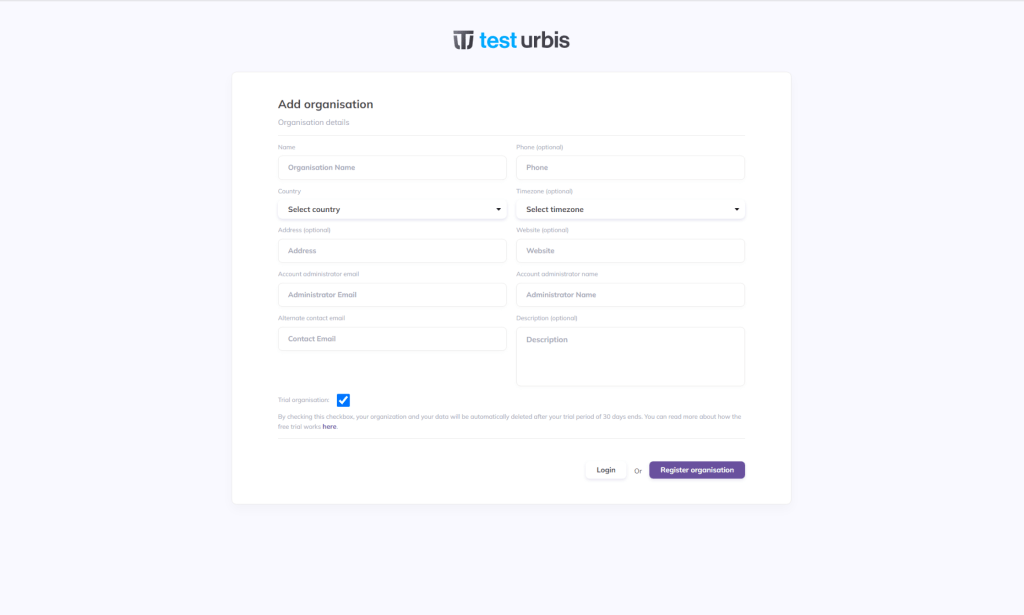
The first step is to register your organisation/company and your organisation admin account. This is done in a single step, and you will have to check the “Trial Organisation” checkbox:
Next, you will receive a confirmation email – please follow the steps in there to complete the registration process.
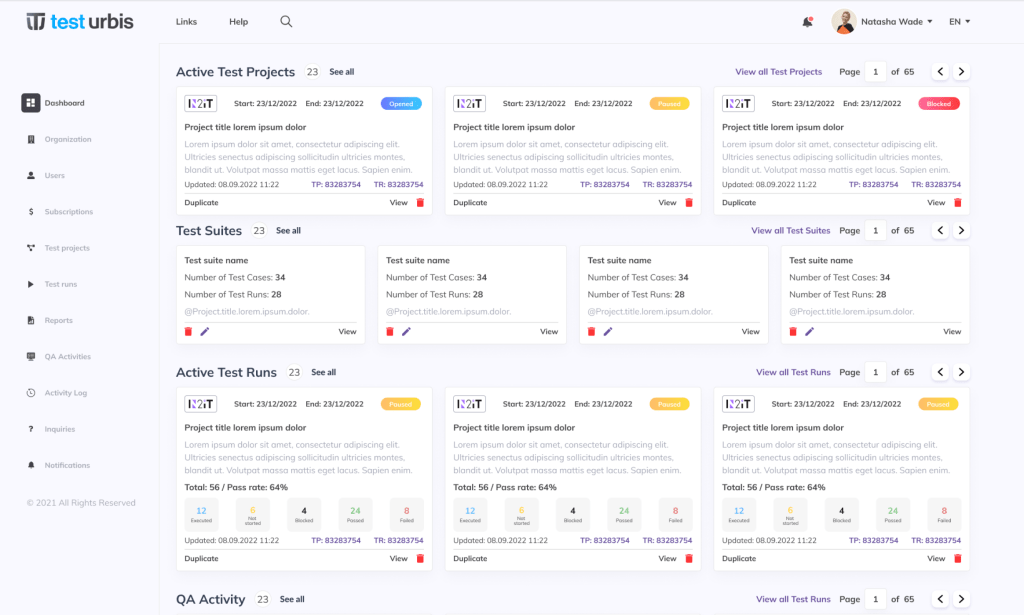
Once you finish, you can login to Test Urbis using the admin account credentials. The first page displayed is the home page, also known as the Dashboard page, as it contains a summary of the latest data and events registered in the platform for your organisation.
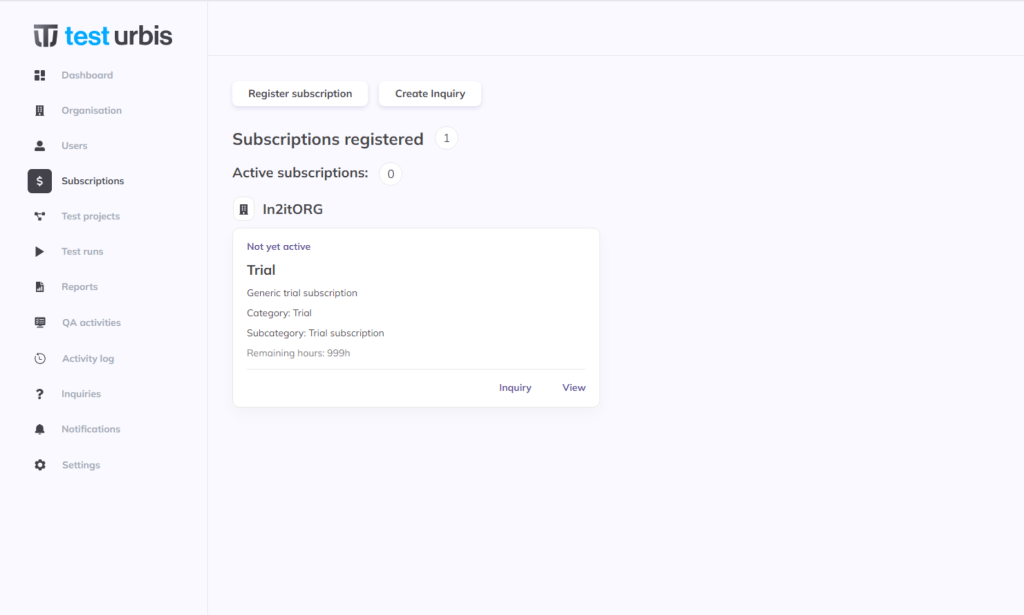
If you click Subscriptions in the left menu, you will notice that you already have a trial subscription registered. This subscription does not have a fixed number of hours specified, nor a price.
The following important restrictions apply in a 30-days trial:
- You can create Test projects, Test runs and QA activities; however, our test team will not get notified about them – only the people in your organisation will perform data updates.
- In a normal workflow, creating and activating Test projects, Test runs, and QA activities will require a sequence of steps done by both the customer and the test team; for example, the test team must validate the data entered by the customer before a Test project, a Test run or a QA Activity becomes Active. But in a 30-days free trial, all approvals which are normally required from the QA/Test team will be automatically done – the test team is not involved in any operation.
- Same as above apply for Inquiries – you can create an inquiry, but there is no guarantee that our QA/Test team will reply. The best way if you use a 30-days free trial to contact us is to use the dedicated page – Contact us.
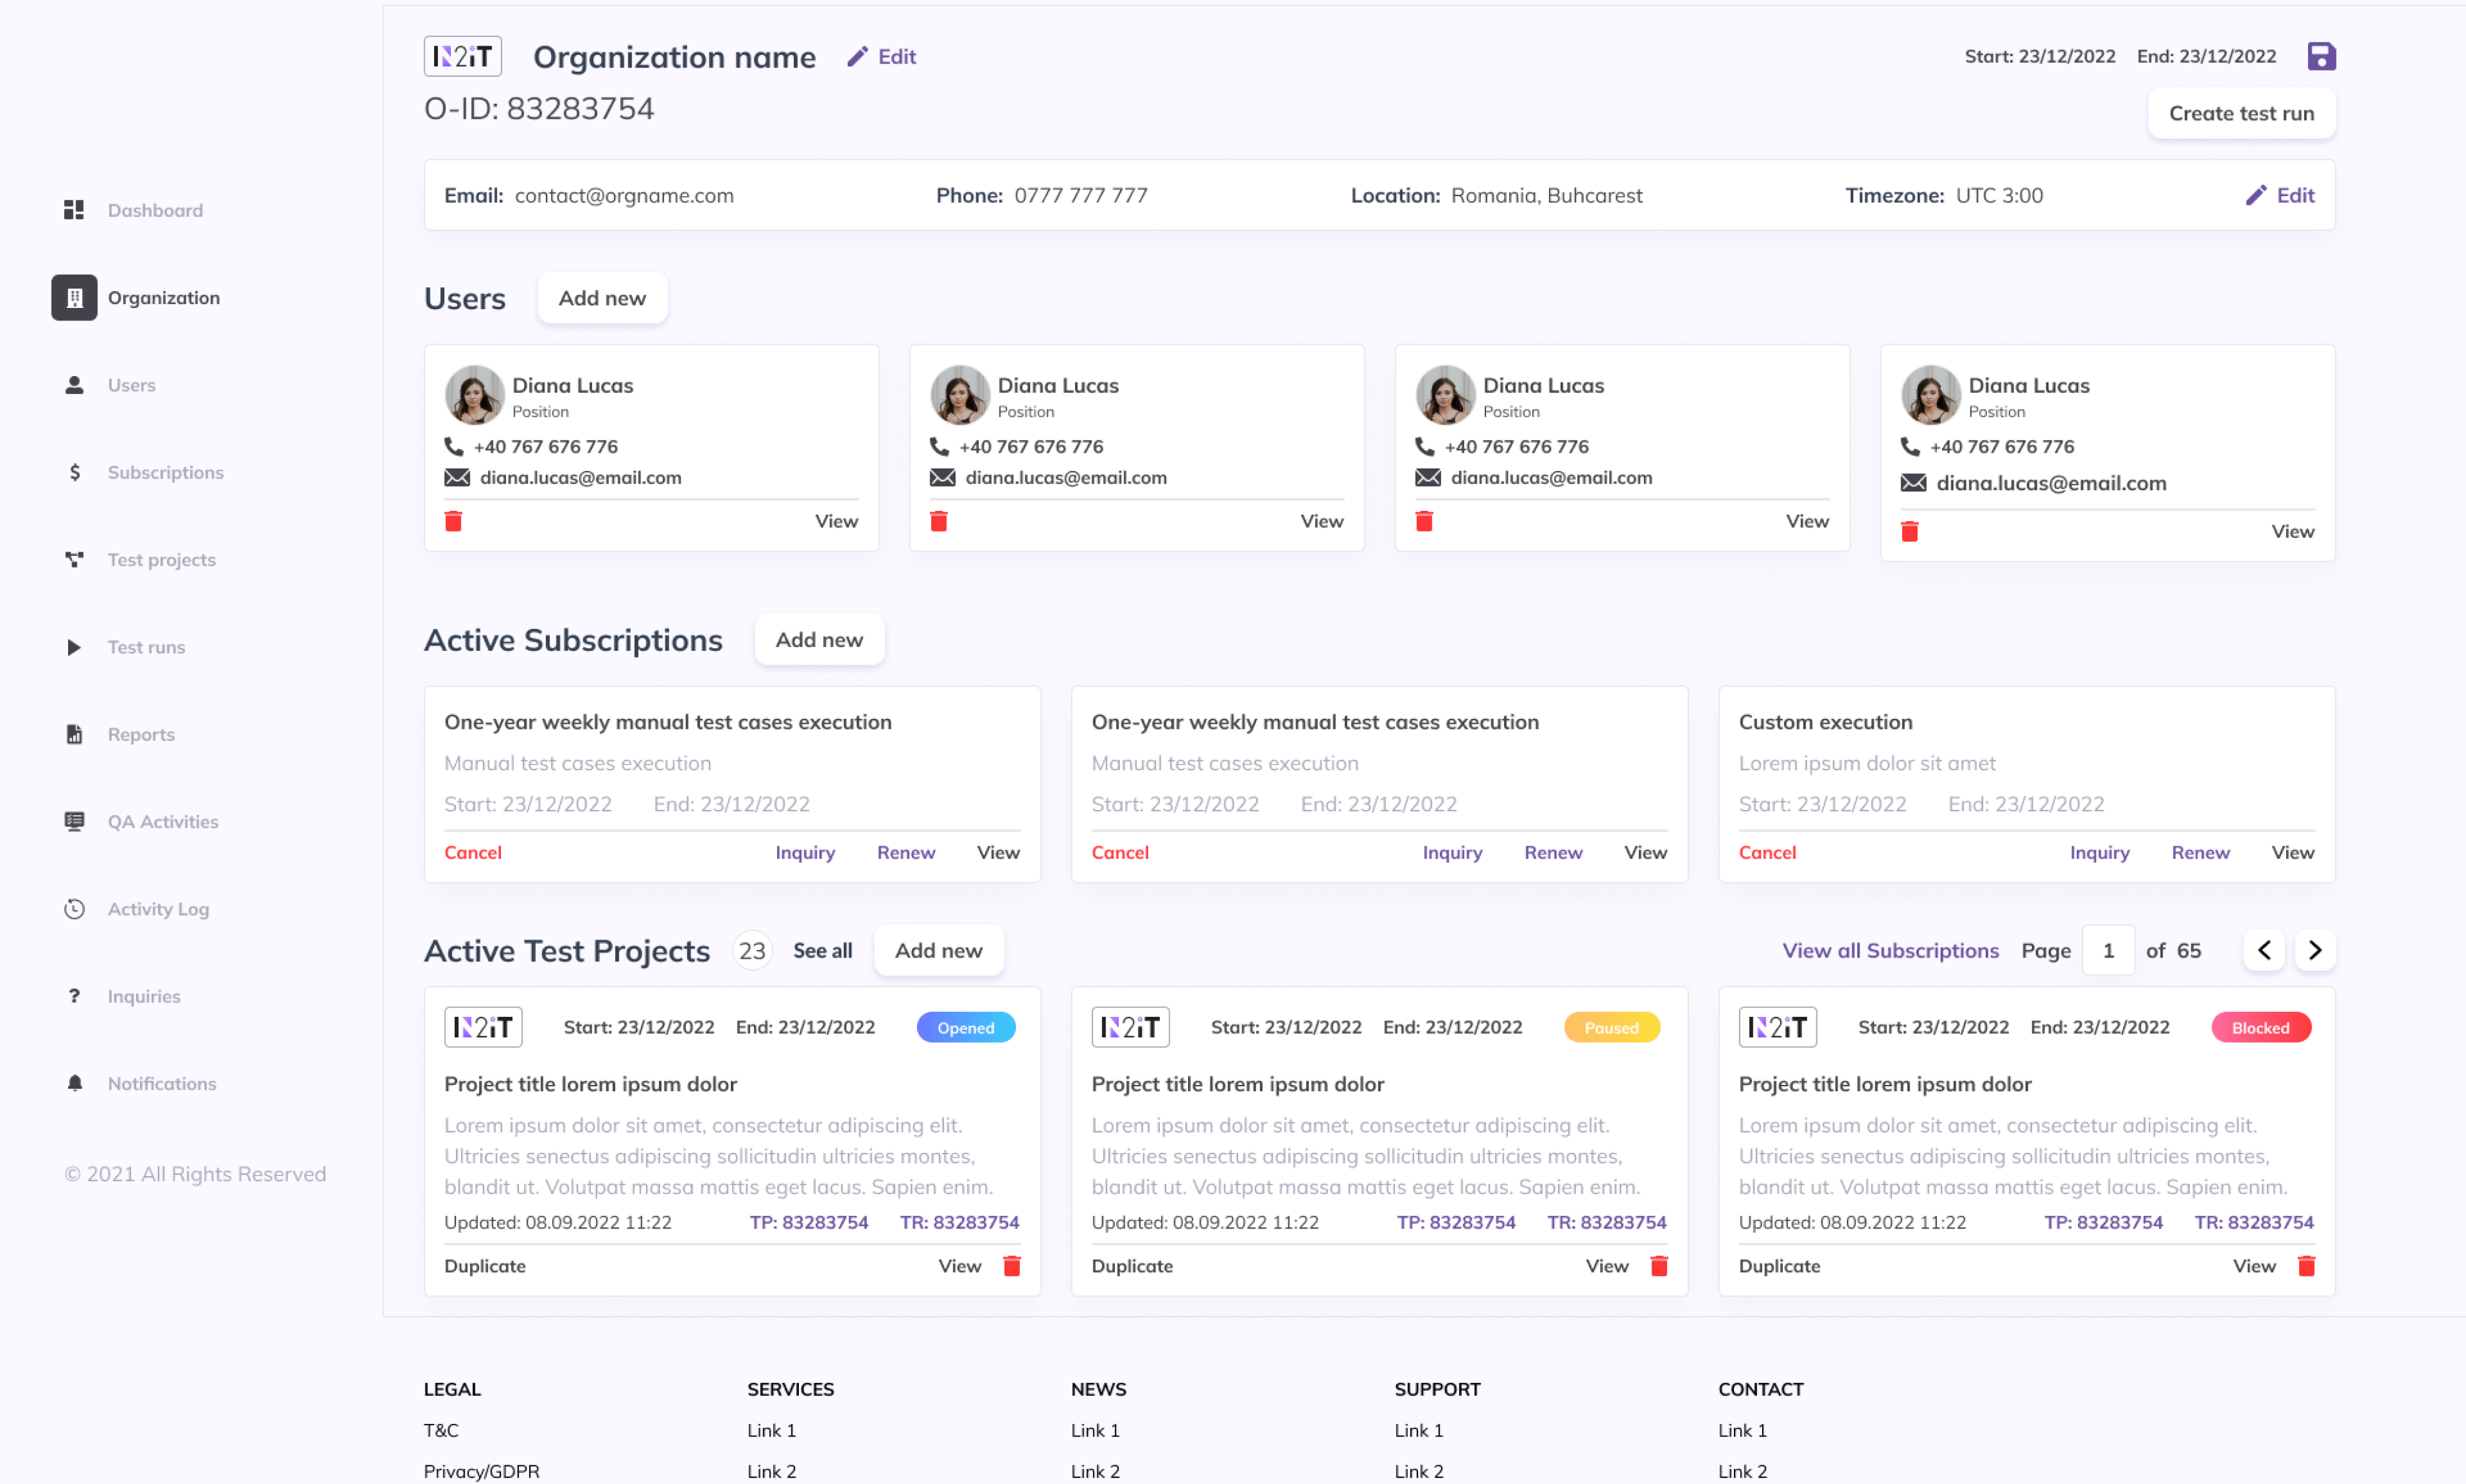
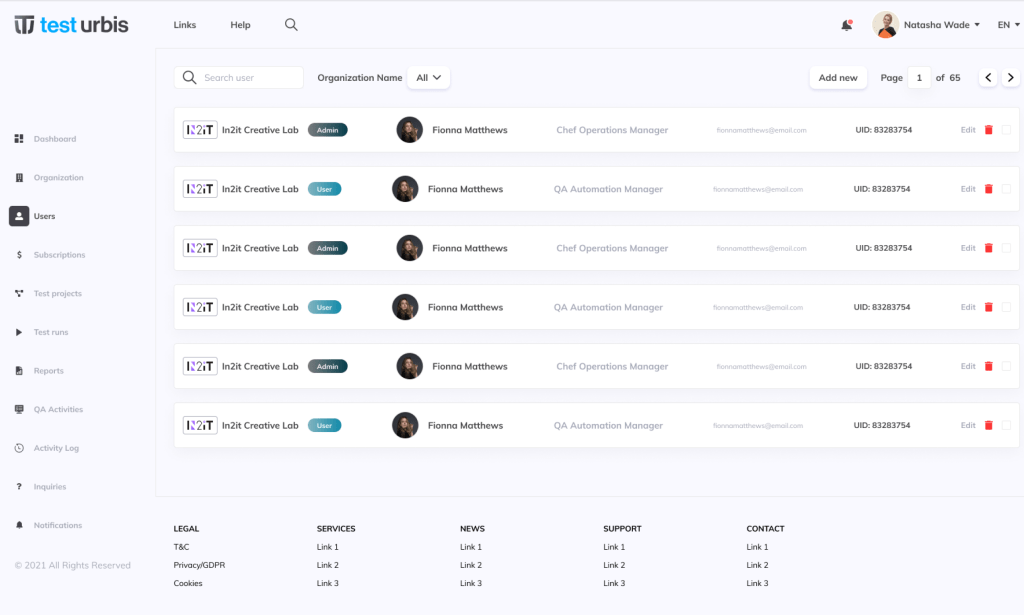
Next, you can add more user accounts in your organisation, and you can also add/update details about your organisation:
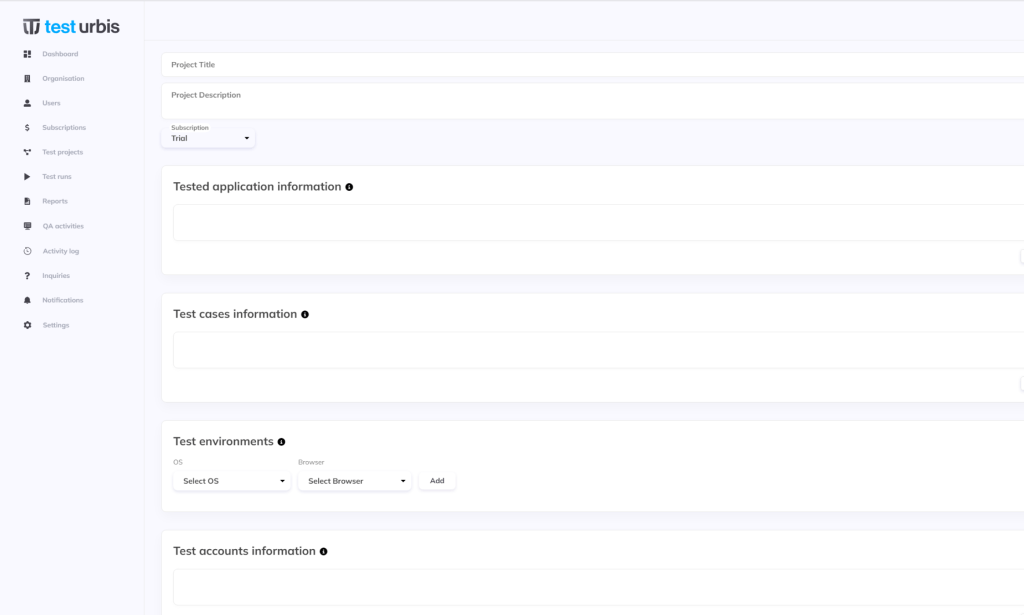
Using your trial subscription, the first thing you need to do in order to define the activities to be performed and tracked through the platform, is to create a Test project. Simply put, a Test project is where and how you define what is the product under test. In a Test project, you should specify:
- Information about the product to be tested.
- Information about the combinations of browsers and operating systems where the product is tested.
- Information about the issues management procedures.
- The list of test cases.
- Any other relevant information.
The platform does not require you to duplicate existing information and documents. Simply use the Upload file functionalities to upload your existing documents.
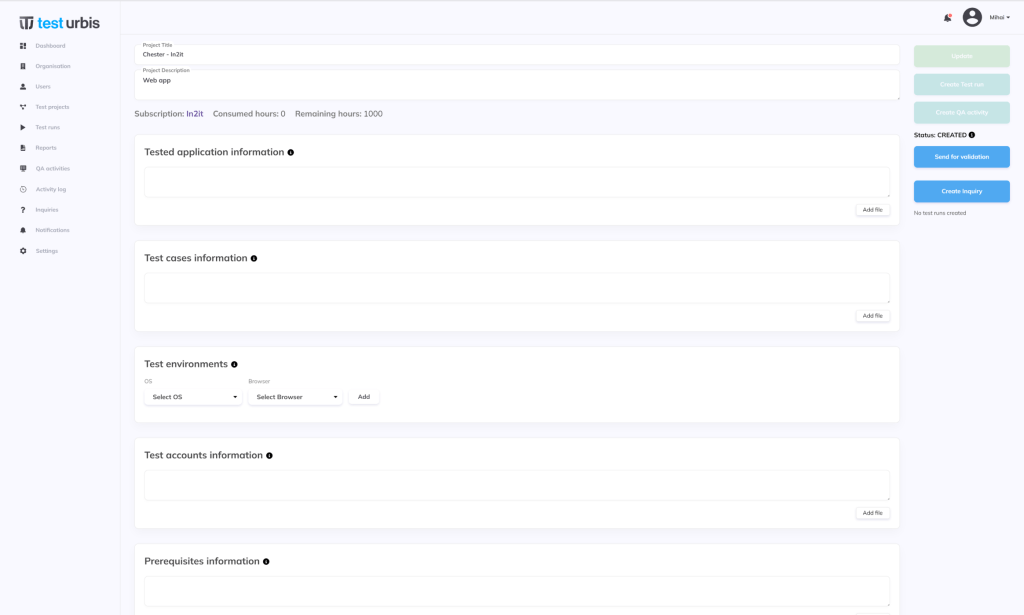
Please note that the Subscription field in the Test projects is already filled-in with your trial subscription. If you would have multiple active paid subscriptions, you would be able to select any one of them.
Next, click on “Send for validation”. This is where normally the test team examines the data you entered and if it is all ok, it will set the Test project Active. This being a 30-days free trial, the approval is done automatically, so the Test project immediately becomes Active. You can start creating Test runs and QA activities for this Test project.

A Test run is an activity consisting in product testing. It is done using a well-defined scenario (execute a predefined list of test cases). During a Test run execution, two important categories of information are continuously updated:
- The time spent by the test team.
- The testing results (passing tests, failing tests etc.).
As a best practice, the product under test should have a well-defined list of test cases. If you don’t have one, before you put requests to test the product please consider using our test team to design the missing test cases. This is not only a short-time benefit, but also a long-time investment, simplifying product maintenance and the future releases activities.
A QA activity is a placeholder for any other QA/Test activity which is not a Test run; it can be, for example: test cases design, test automation development, special types of testing, such as performance or security testing etc.
When you create a Test run, you will specify:
- The list of test cases to be executed; sometimes only a subset of the full list of test cases defined for the product and specified in the Test project are to be executed, for example there could be a request to execute only the priority 1 test cases.
- The test execution environment: OS and browser (for example Windows 11, Chrome latest release).
- Any other specific information for this particular Test run execution.
Please note that the Subscription is already filled-in with your trial subscription. If you had multiple active subscriptions, you would be able to select any one of them. As in Test projects, you can simply upload documents to avoid duplicating information.
Next, click on “Send for validation”. This is normally where the test team examines the data you entered and if it is all ok, it will make the Test run Active. This being a 30-days trial, the approval is done automatically, so the Test run immediately becomes Active.
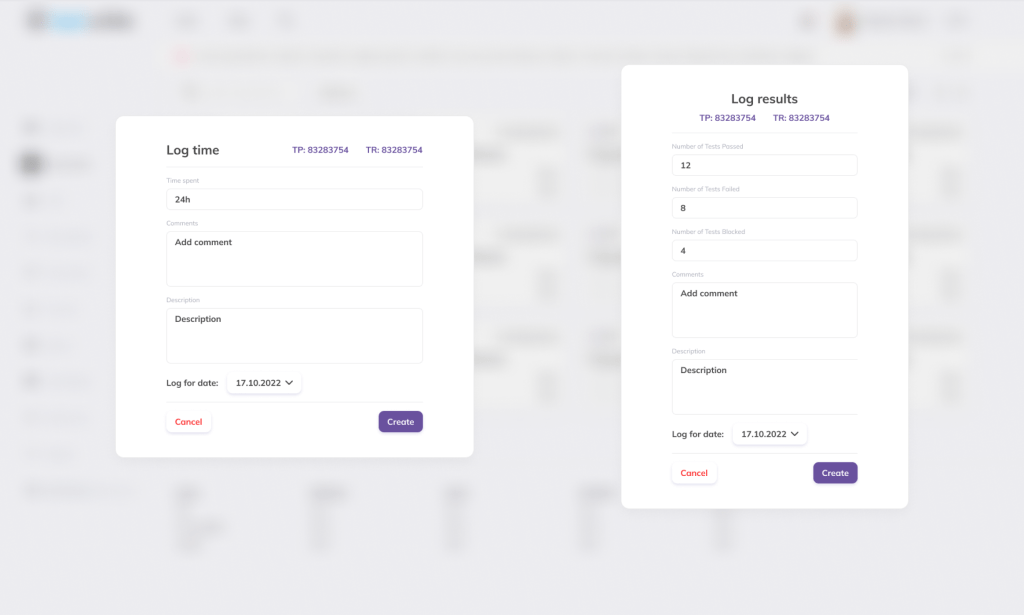
Once the Test run becomes Active, you can:
- Log hours
- Log results
- Any other specific information for this particular Test run execution.
Normally, this data is filled in by the test team working on the Test run. But because this is a 30-days trial, and our test team is not involved in the actual execution, it is up to you to fill in this information.
When you think the execution is complete, you can change the Test run status to Complete.
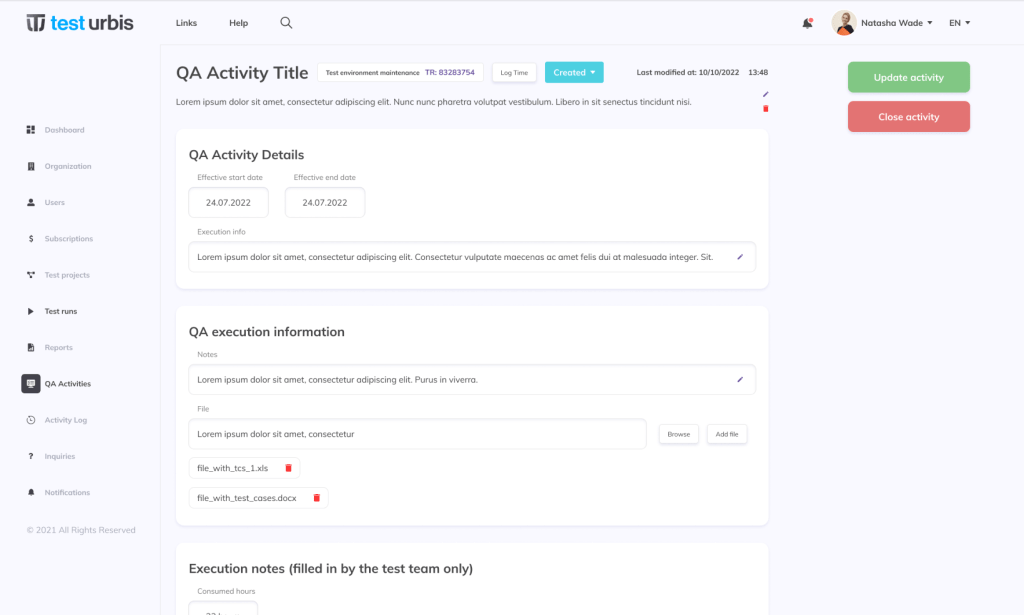
For QA activities, all works the same as for Test runs, except there is no Log results functionality. All deliveries and execution information are specified in the QA Activity details page.
Important things to know about:
- In a free trial, all your data will be automatically deleted after the trial period expires. You will get periodical notifications and messages warning you about the time left in your trial.
- If you want to keep your data and move to a paid subscription, you can easily do that – all you have to do is to buy a subscription and register it in the platform. The trial subscription will be automatically replaced with the paid one. The consumed hours will be reset to zero – the trial logged hour are not counted in the paid subscription.
If you have any questions please contact us – we will get back to you as soon as possible.